Instructions for using Tui – Bottle Feeder

Instructions: Using your Tui-Feeder

Bird Feeder - Tui Feeder 1-500x500

1/ Once you have filled your bottle with sugar water.
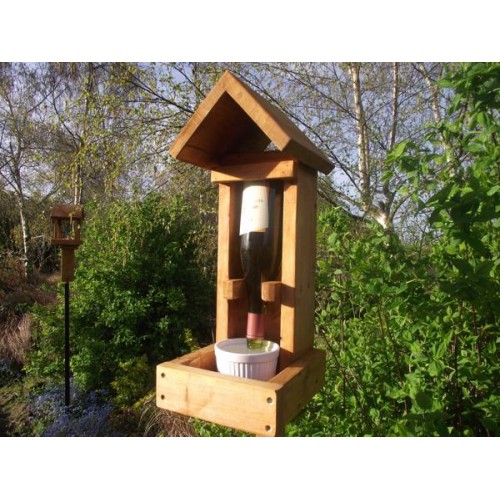
2/ Replace the cap and position the bottle back in the Tui-Feeder.
3/ Position the ceramic bowl under the bottle.
4/ The opening of the bottle should be sitting just below the rim of the ceramic bowl.
5/ Gently remove the cap of the bottle.
6/ The sugar water will then begin to empty into the ceramic bowl until it is full.
7/ Do not be concerned if some spillage or overflow takes place at this stage ( the tui-feeder has adequate drainage to prevent a build up of liquid).
8/ when the sugar water in the ceramic bowl reaches the opening of the bottle, a vacuum / seal is created and the sugar water will stop flowing.
9/ As the birds drink or the sugar water begins to evaporate the sugar water in the bottle will be naturally release and refill the ceramic dish.
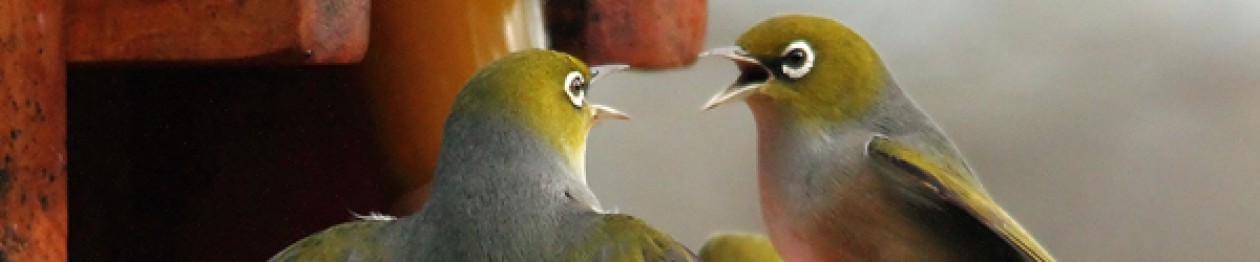
We are always pleased to receive any photos of our products being used by our feathered friends.

Help Creative Woodcraft… GIVE NATURE A HOME PROJECT!

Creative woodcraft would like to donate up to fifty Homes for solitary bees to be distributed to schools around New Zealand during November 2013.
leafcutter bee with pollen
Increasing pollination in school gardens by providing suitable nesting habitat for our native and introduced solitary bees and  will be a great way to provide hands on education and awareness to children. Helping spread the message that our pollinators are precious!
For every order placed at Creative Woodcraft between July and December 2013, we will donate 10% of your order value towards building and supplying solitary bee houses to school garden projects around New Zealand.
Help share our “GIVE NATURE A HOME PROJECT” via social media features such as Twitter and Facebook and by communicating our message with your friends and family.
Visit our blog for more information about leafcutter bees and solitary bees. Download our FREE e-book (Bees) by registering at www.creativewoodcraft.co.nz
If your school would be interested in receiving a Solitary Bee House for your school garden please contact us 

I’ve purchased a bumblebee nesting box, but…what do I do with it?

If you have purchased your bumblebee nesting box during the winter month’s put it out and leave it to weather.

Bumble Bee Nesting Box

The bumble bee nesting boxes provided by creative woodcraft come supplied with nesting material.  If you are using your bumblebee nesting box for the second or subsequent year you can purchase (new nesting material) helping  make the inside of the box as bumblebee friendly as you can.

Next look around for a good site. And having found the site take your time to place the box well. And then go away and leave it.

In early spring have a look inside the box. If it shows signs of occupancy by roosting birds or small mammals, then this is a good sign. Leave any nesting material and droppings, bumblebee queens seem to like the lived-in smell and look.  However if the nesting material is damp and the box has no bird/mammal sign, but has slug/snail/worm signs, then it is not well sited. So you must take it out. Dry it thoroughly – don’t clean it up too much and don’t use any cleaners. Then find another spot for it.

For further information on siting your bumblebee nesting box, register at www.creativewoodcraft.co.nz and download our FREE e-book BEES.